

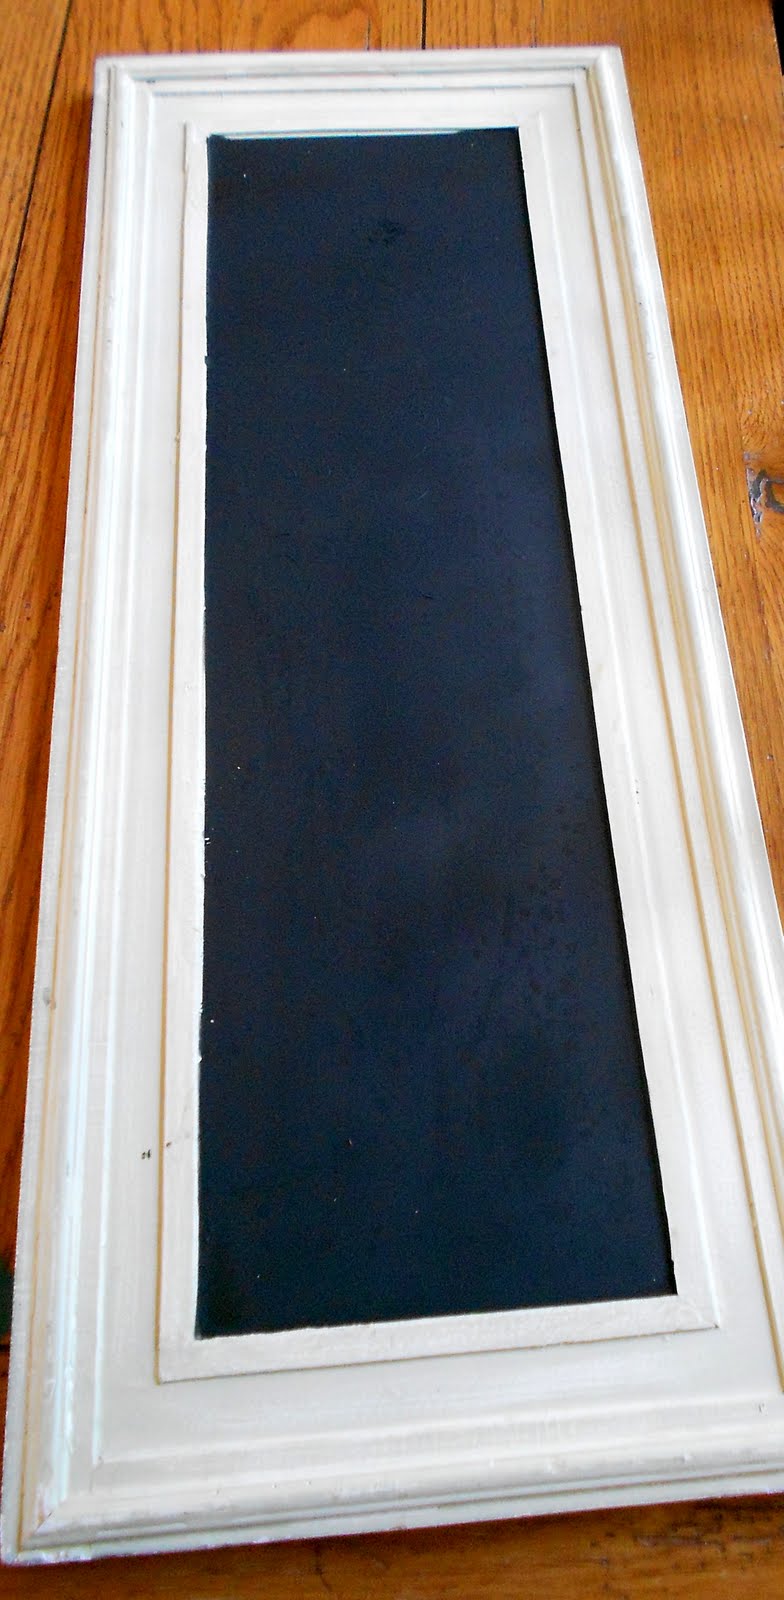
I was in Goodwill last week and I spotted this:
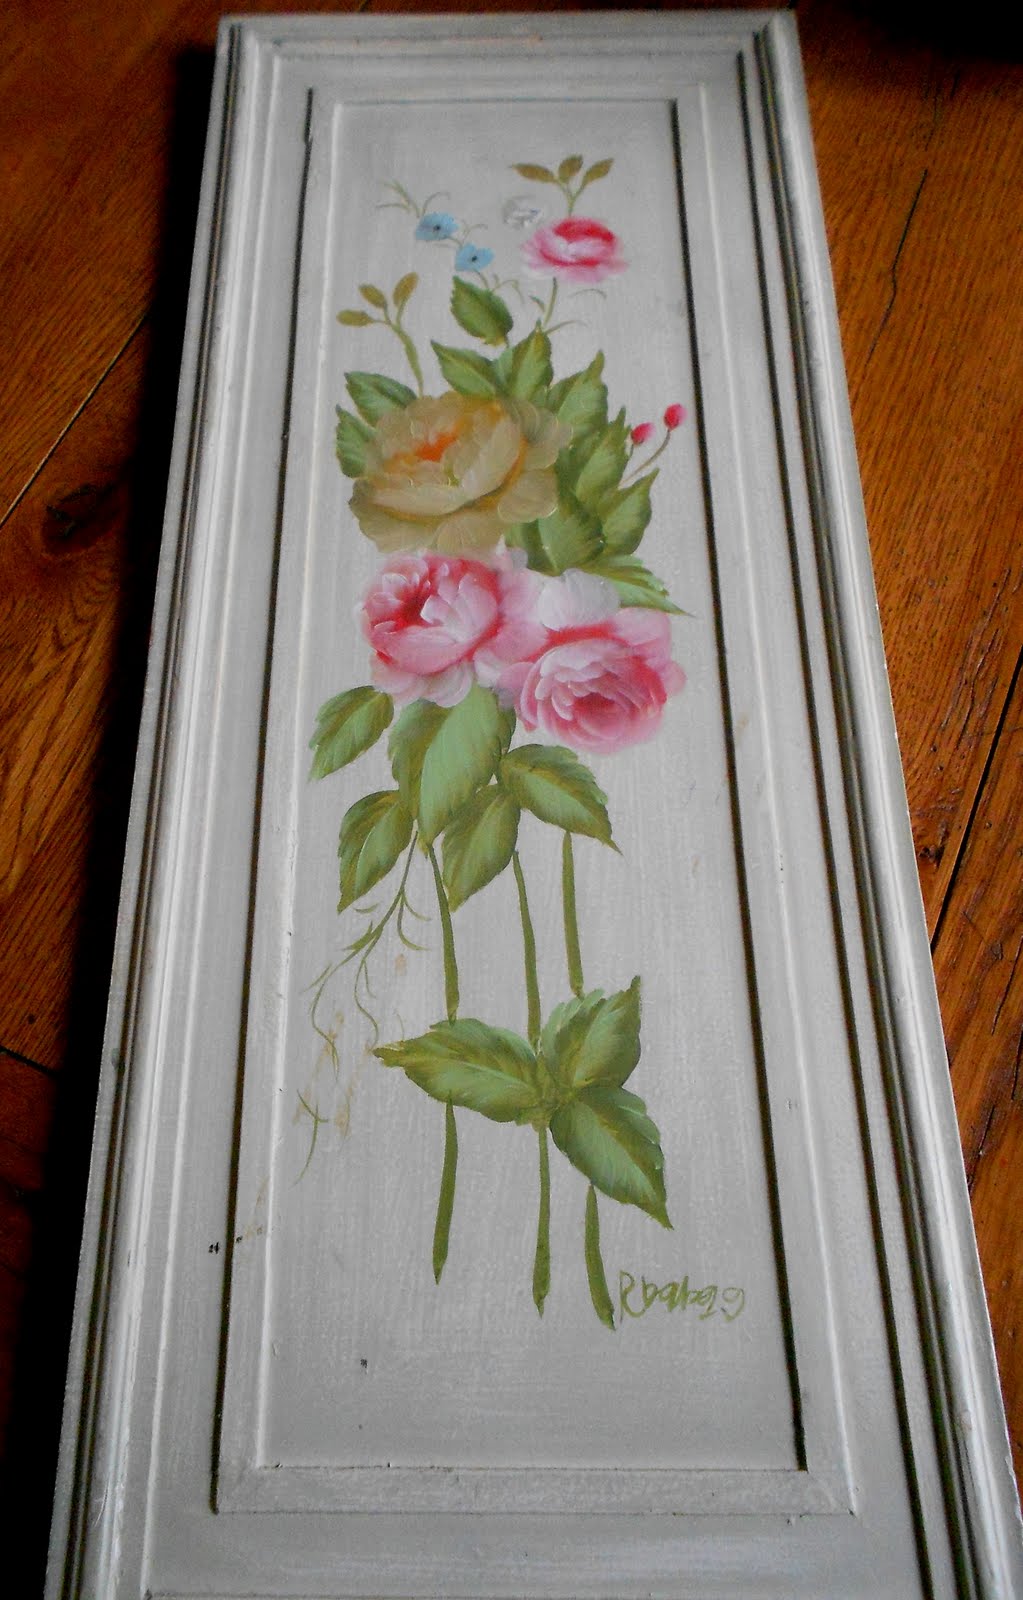
I loved the inlay and the frame color, plus it was $3.99. I thought I could make it into something much better.
Here’s my plan:
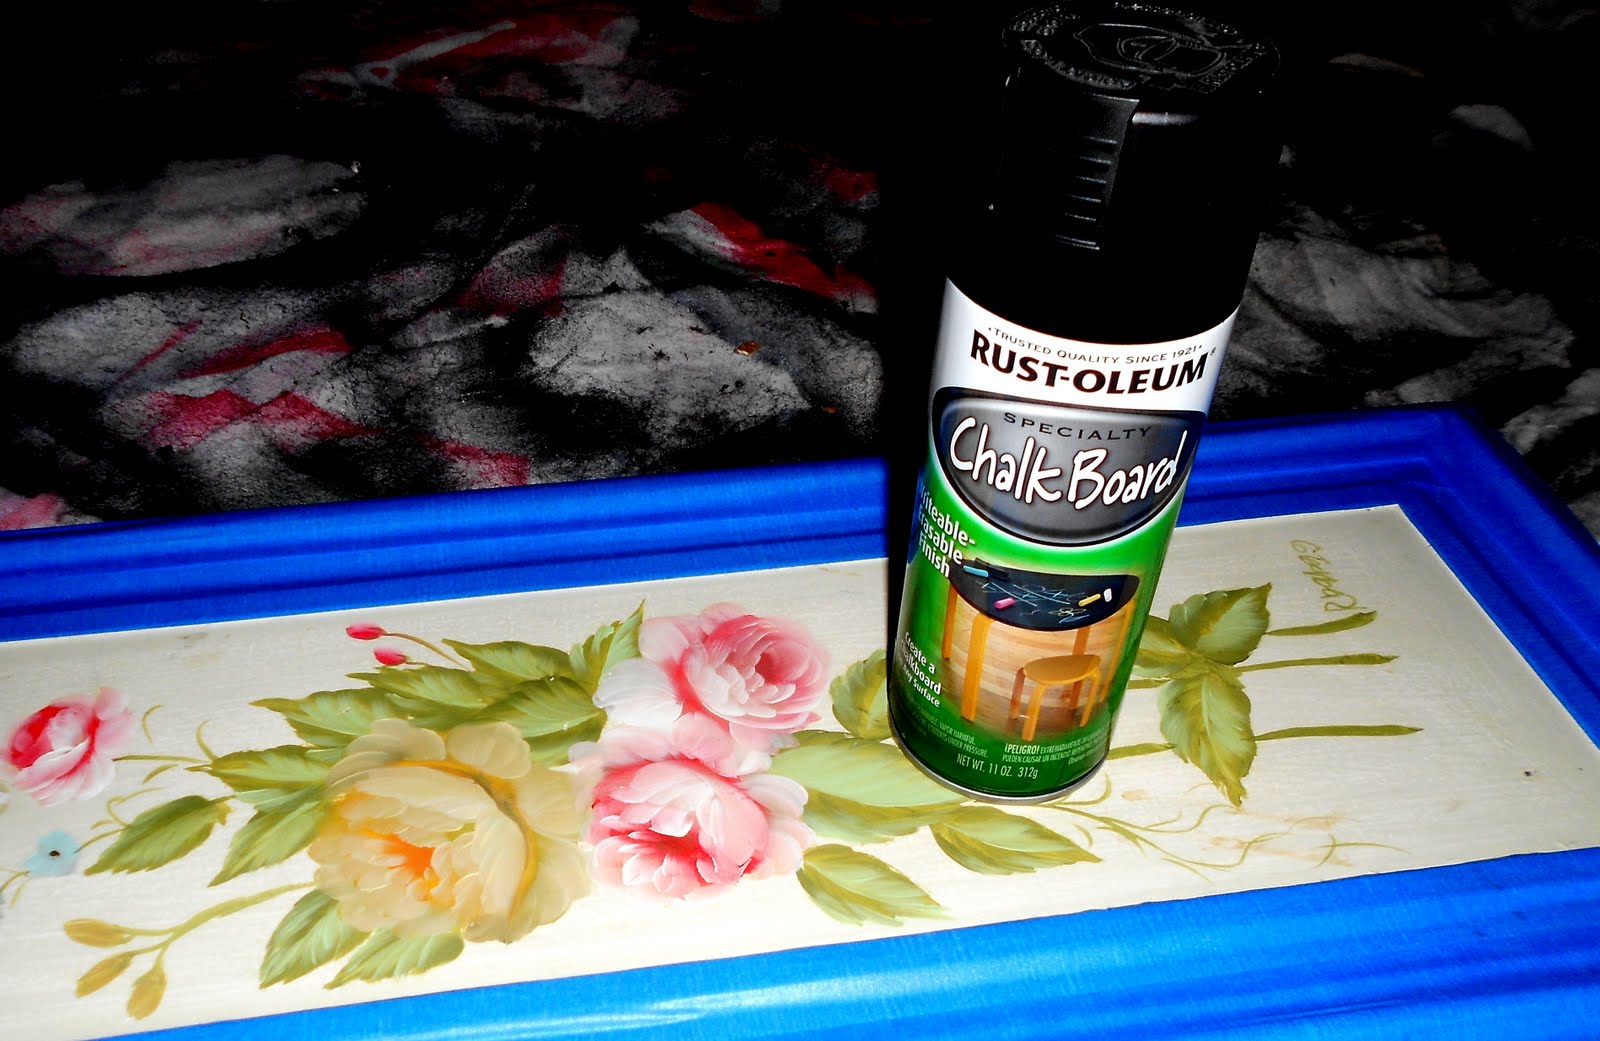
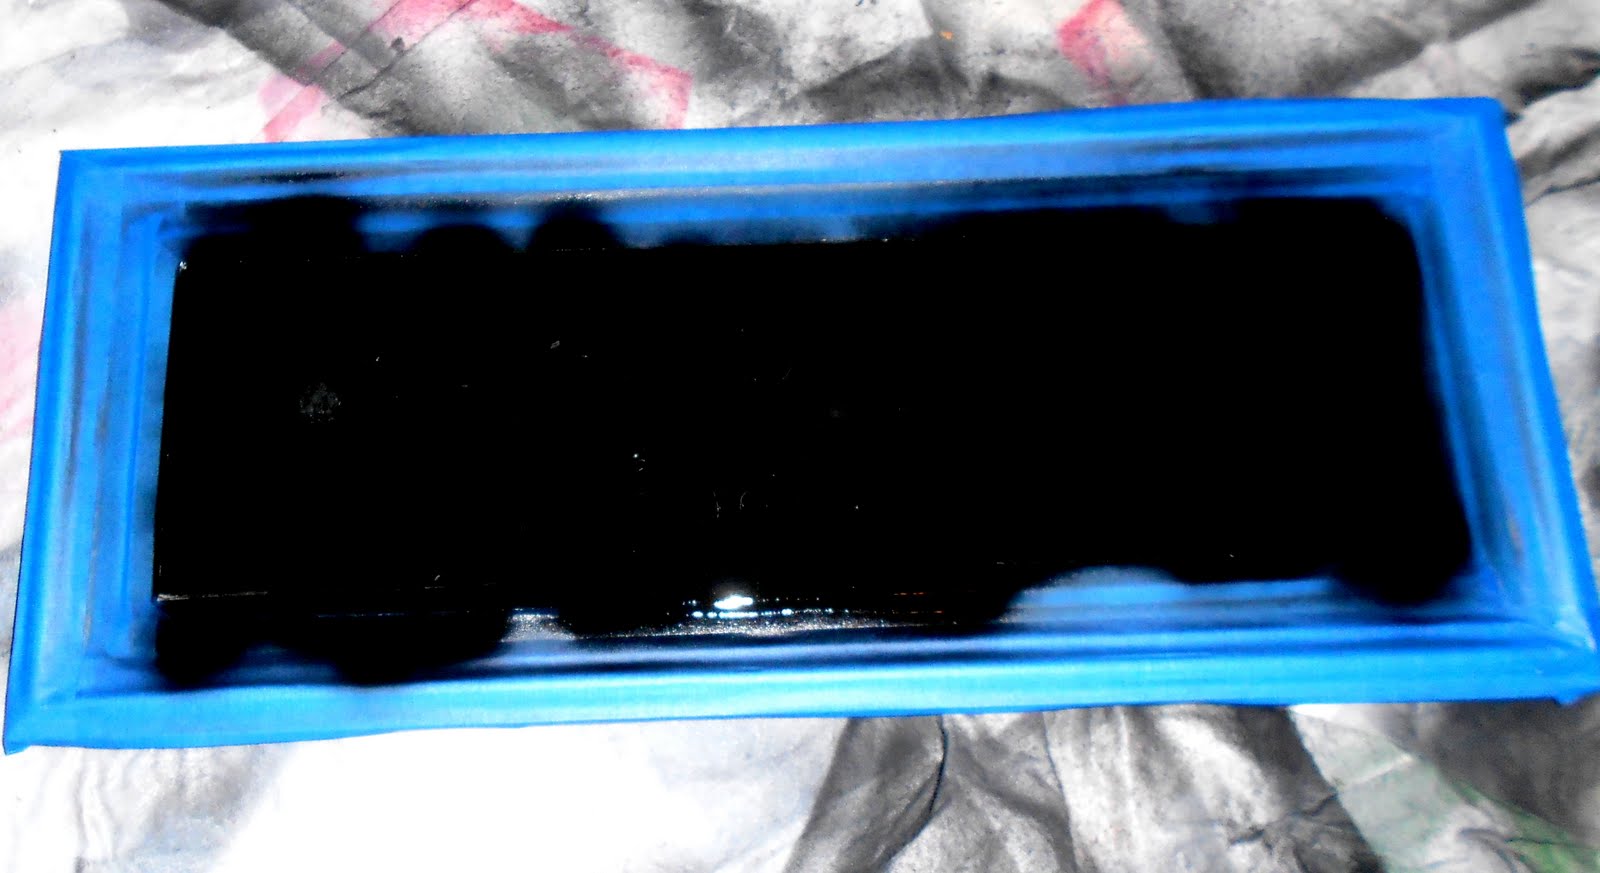
A little paint tape and chalkboard spray paint.
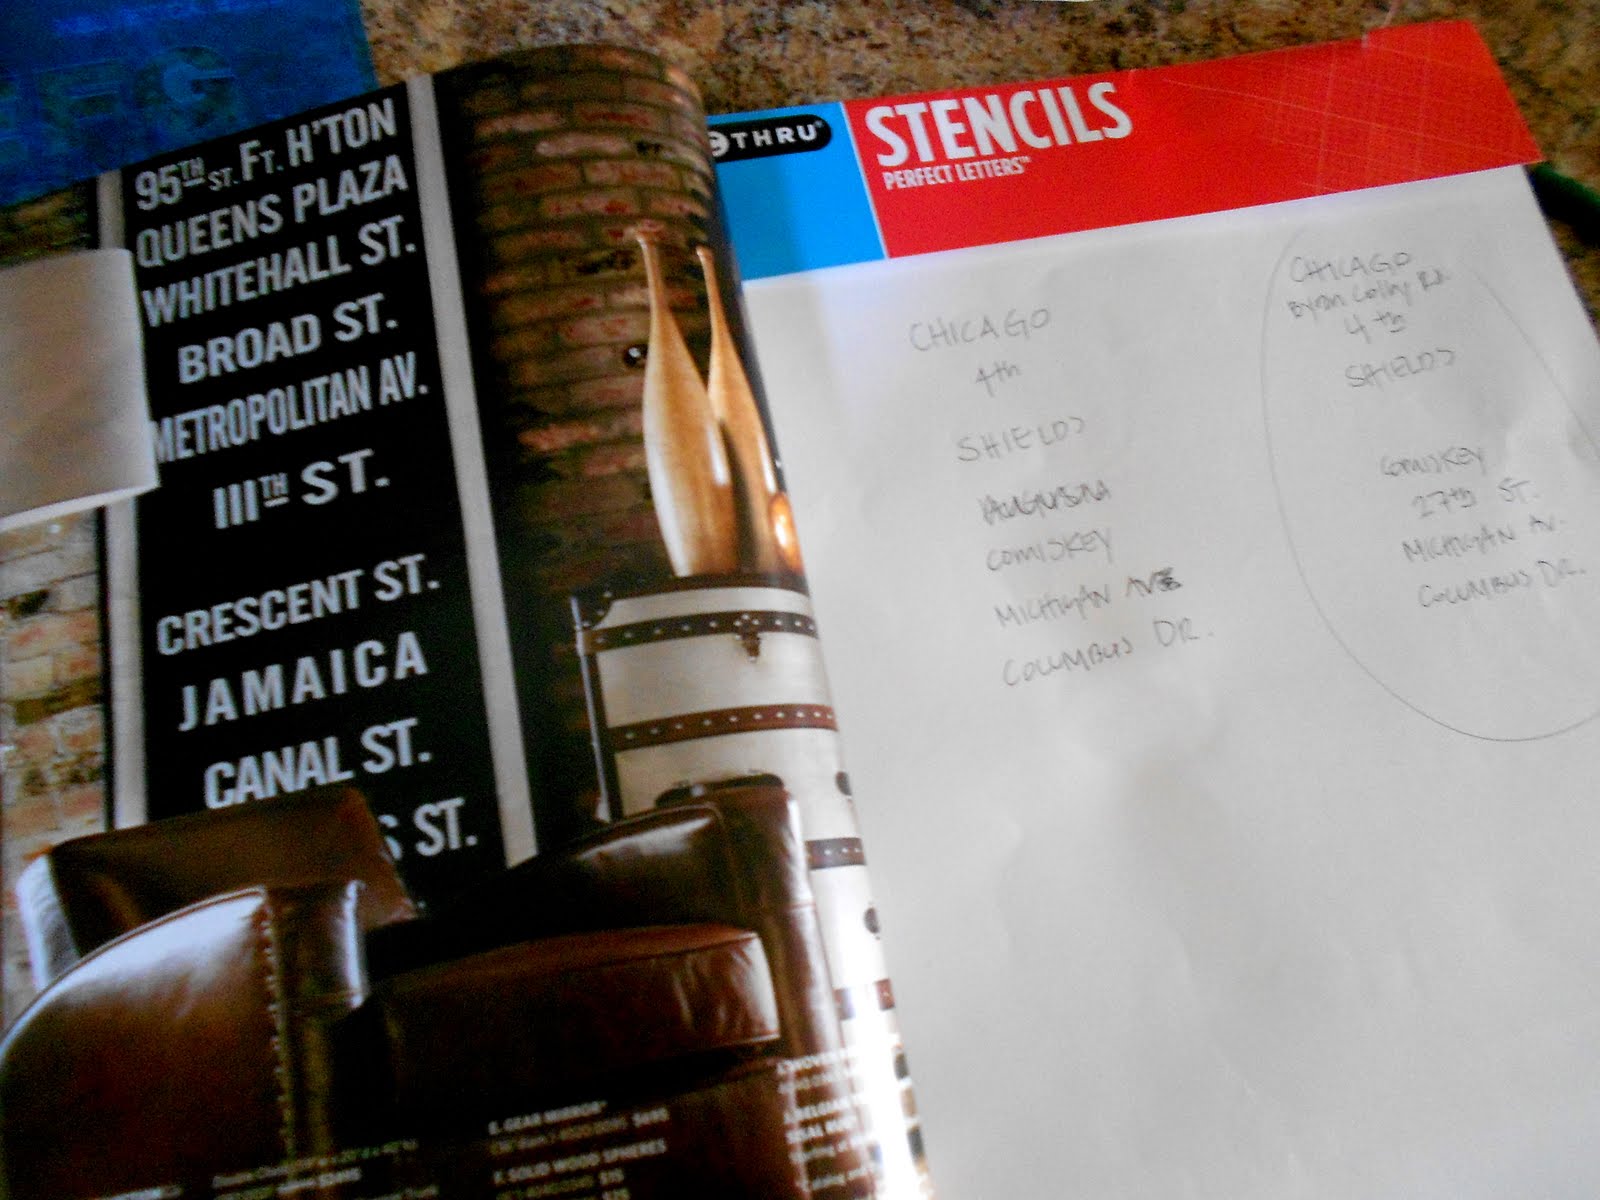
My inspiration? Restoration Hardware’s subway art.
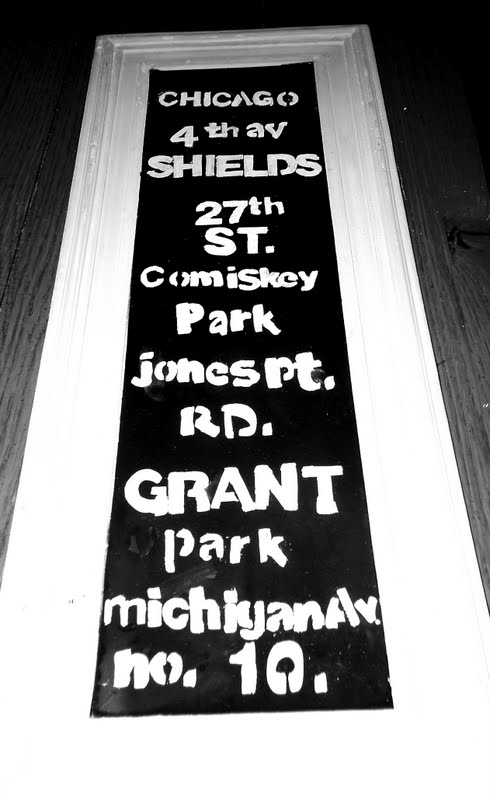
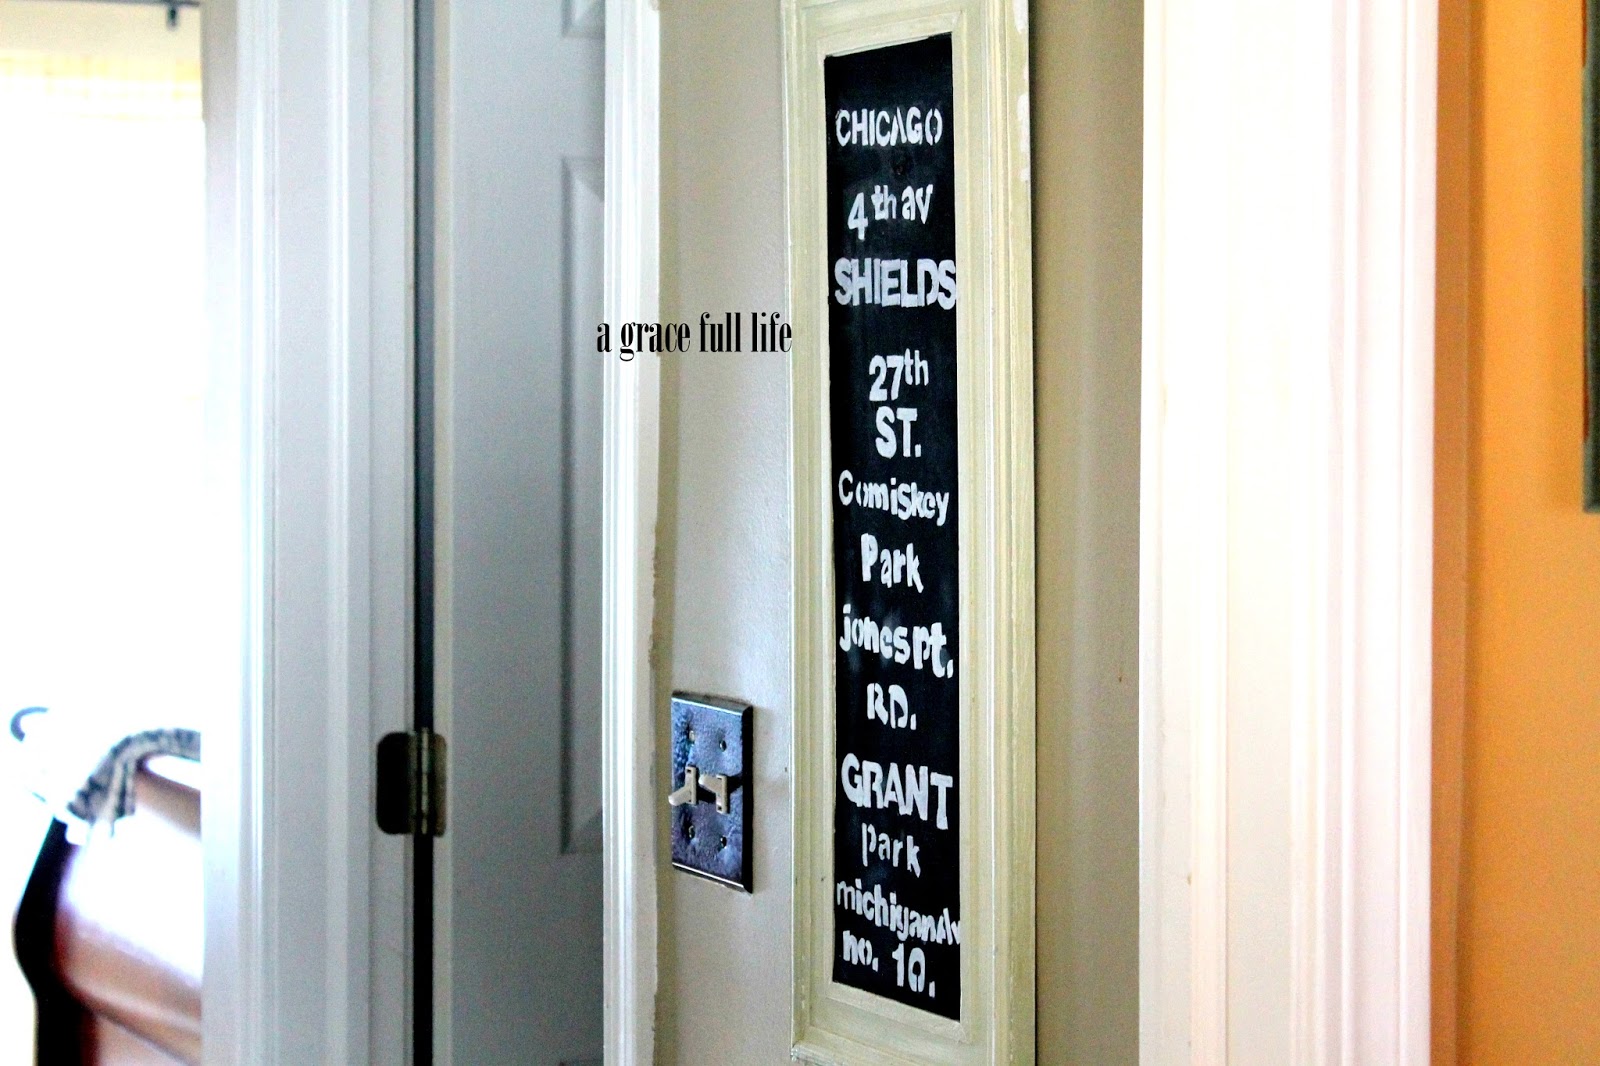
To make it personal to us, I used street names that meant something.
For the numbers, I used the day we had our first date (October 4th), our wedding day (May 27th), and the month we started dating (10th month of the year).
Then I just added the abbreviations ST. or AV. behind them.
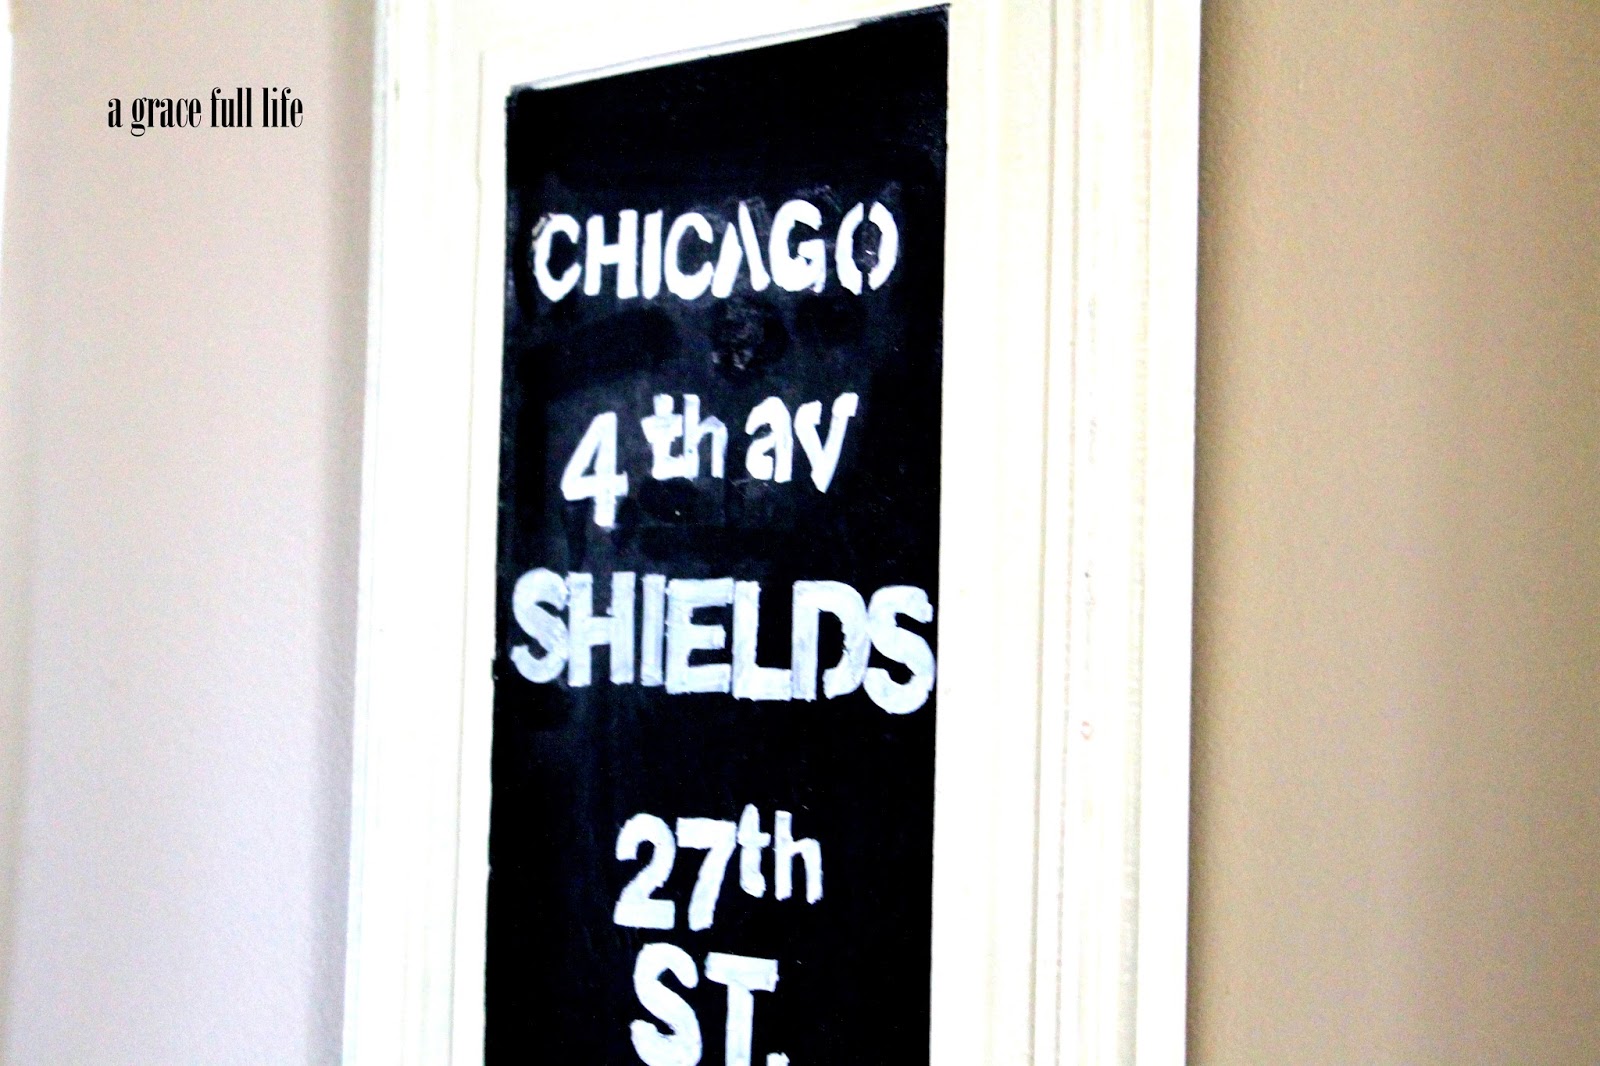
Ours is Chicago-inspired.
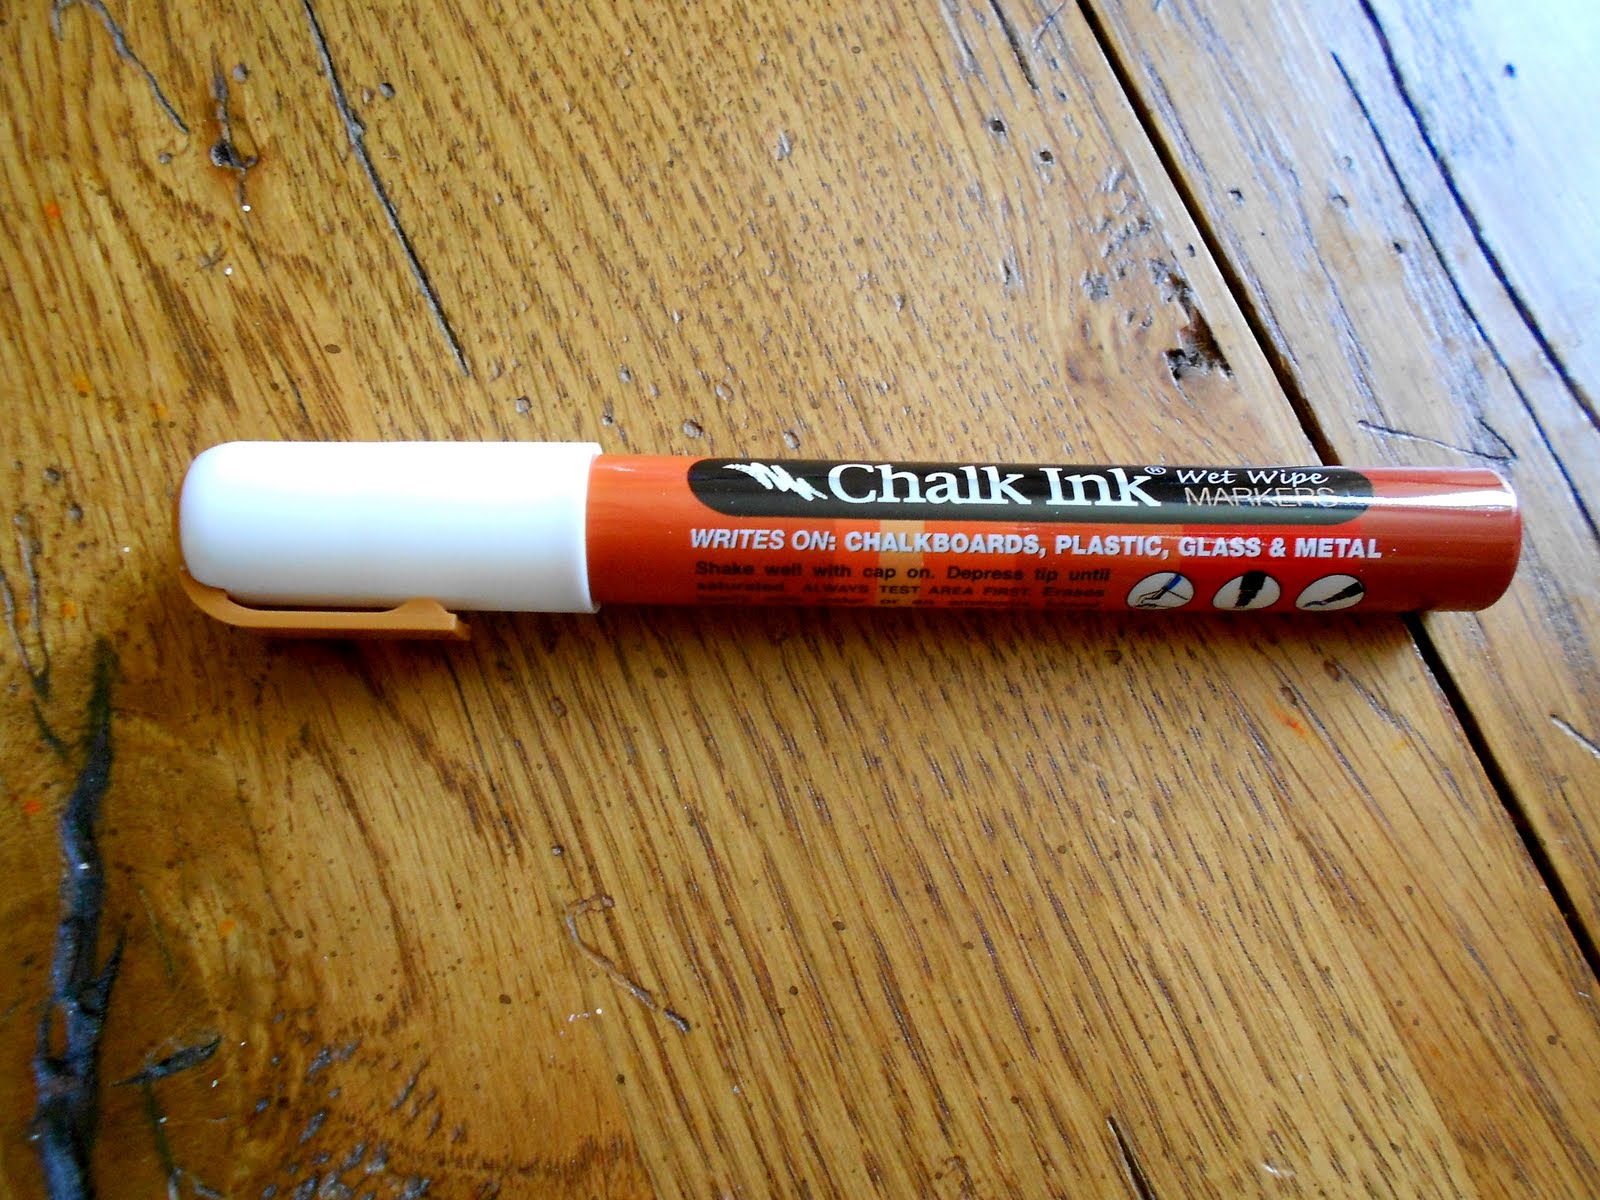
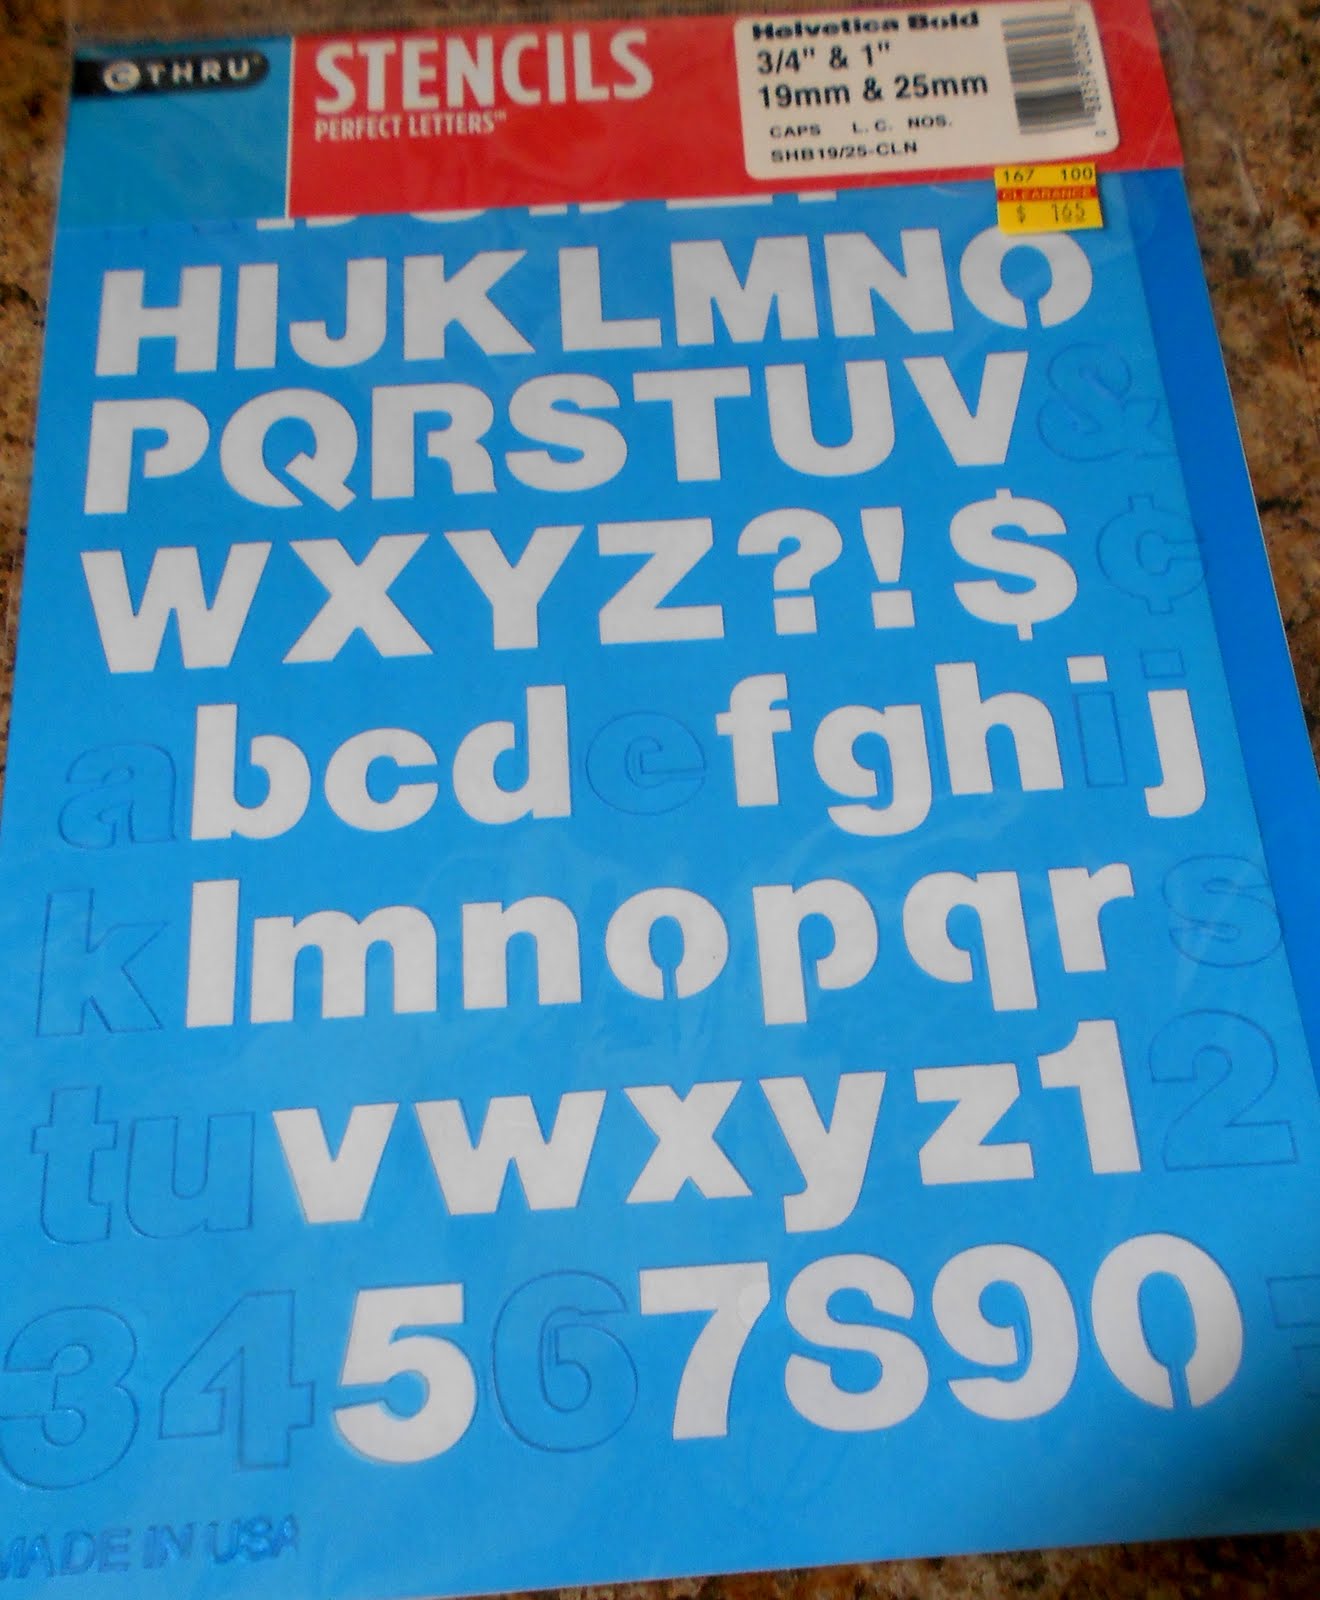
I took the chalk pen and drew within the stencils freehand.
We know how bad my freehand is, so I ended up with this kind of mess.
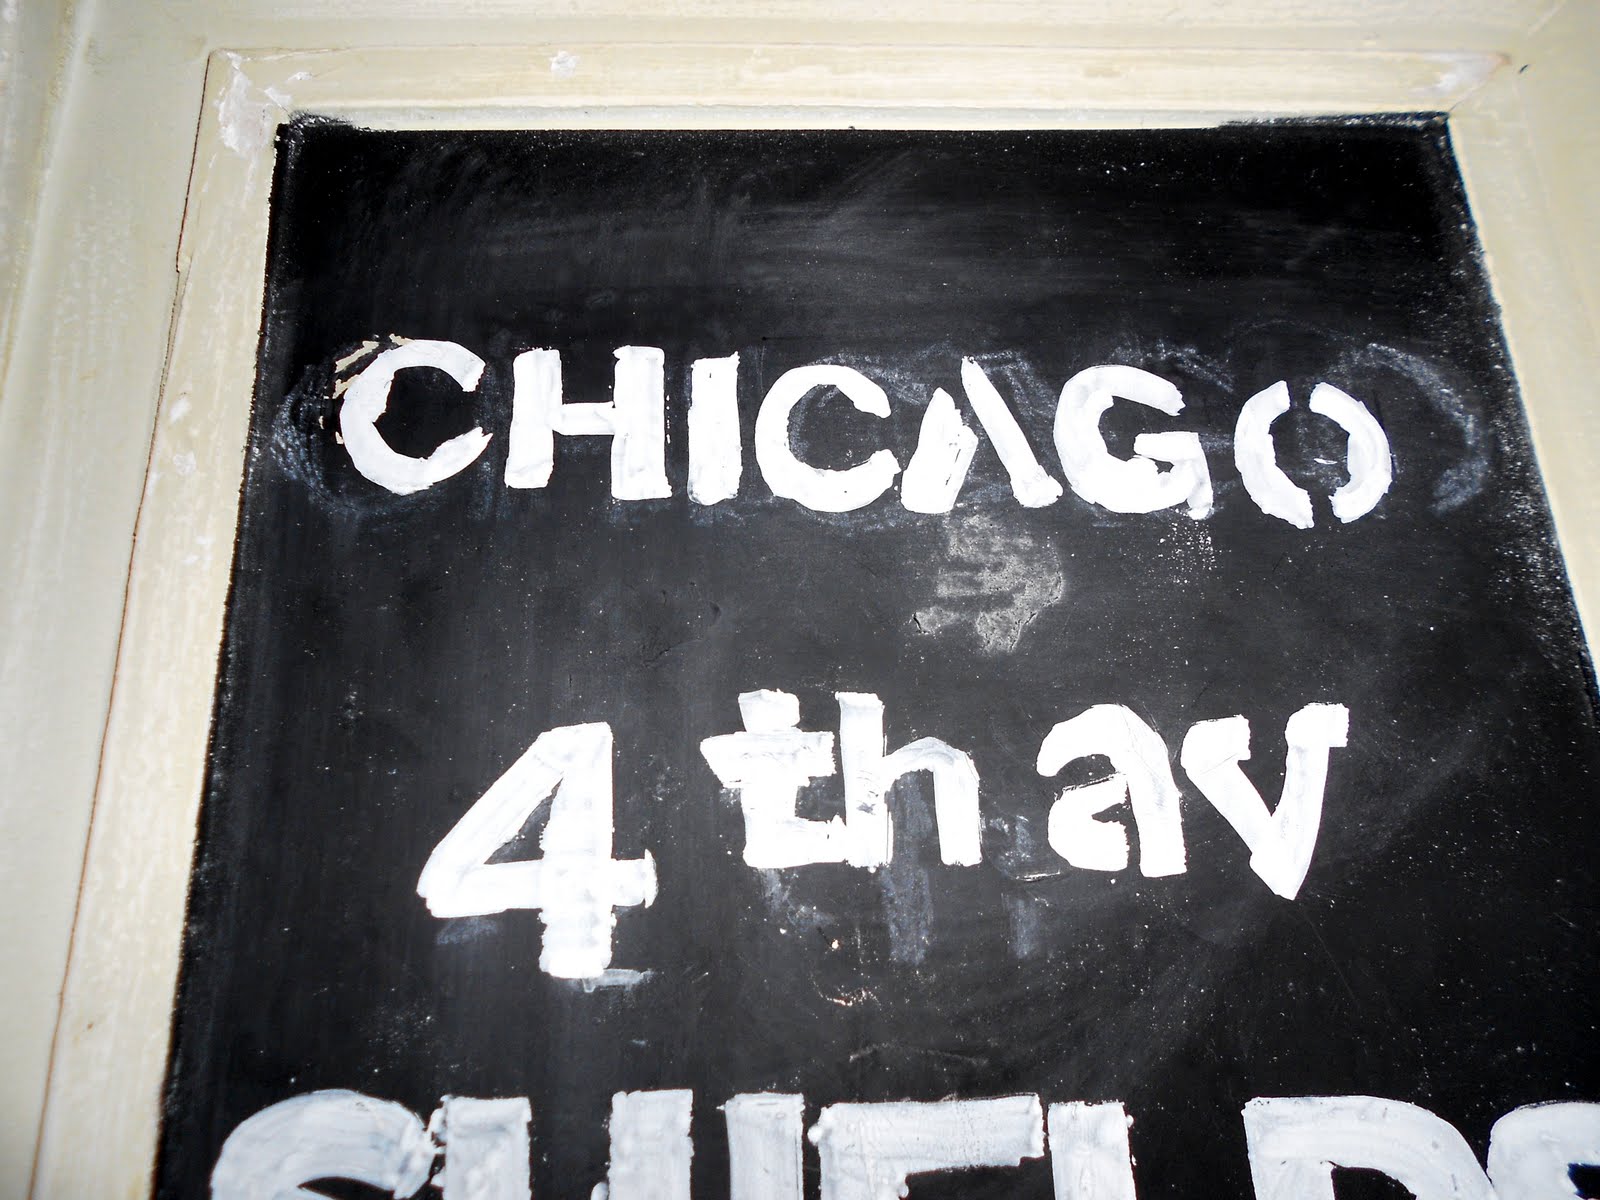
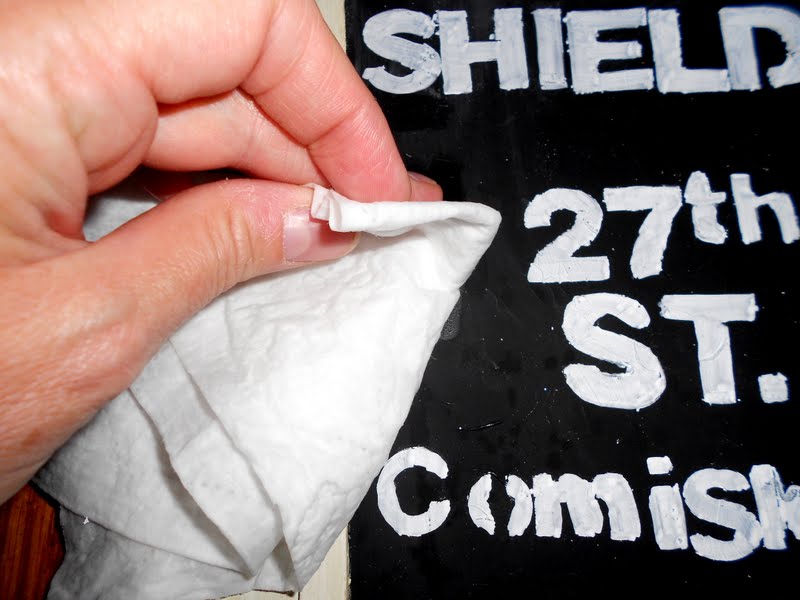
Not perfect or even Restoration Hardware-ish by any means, but definitely special.
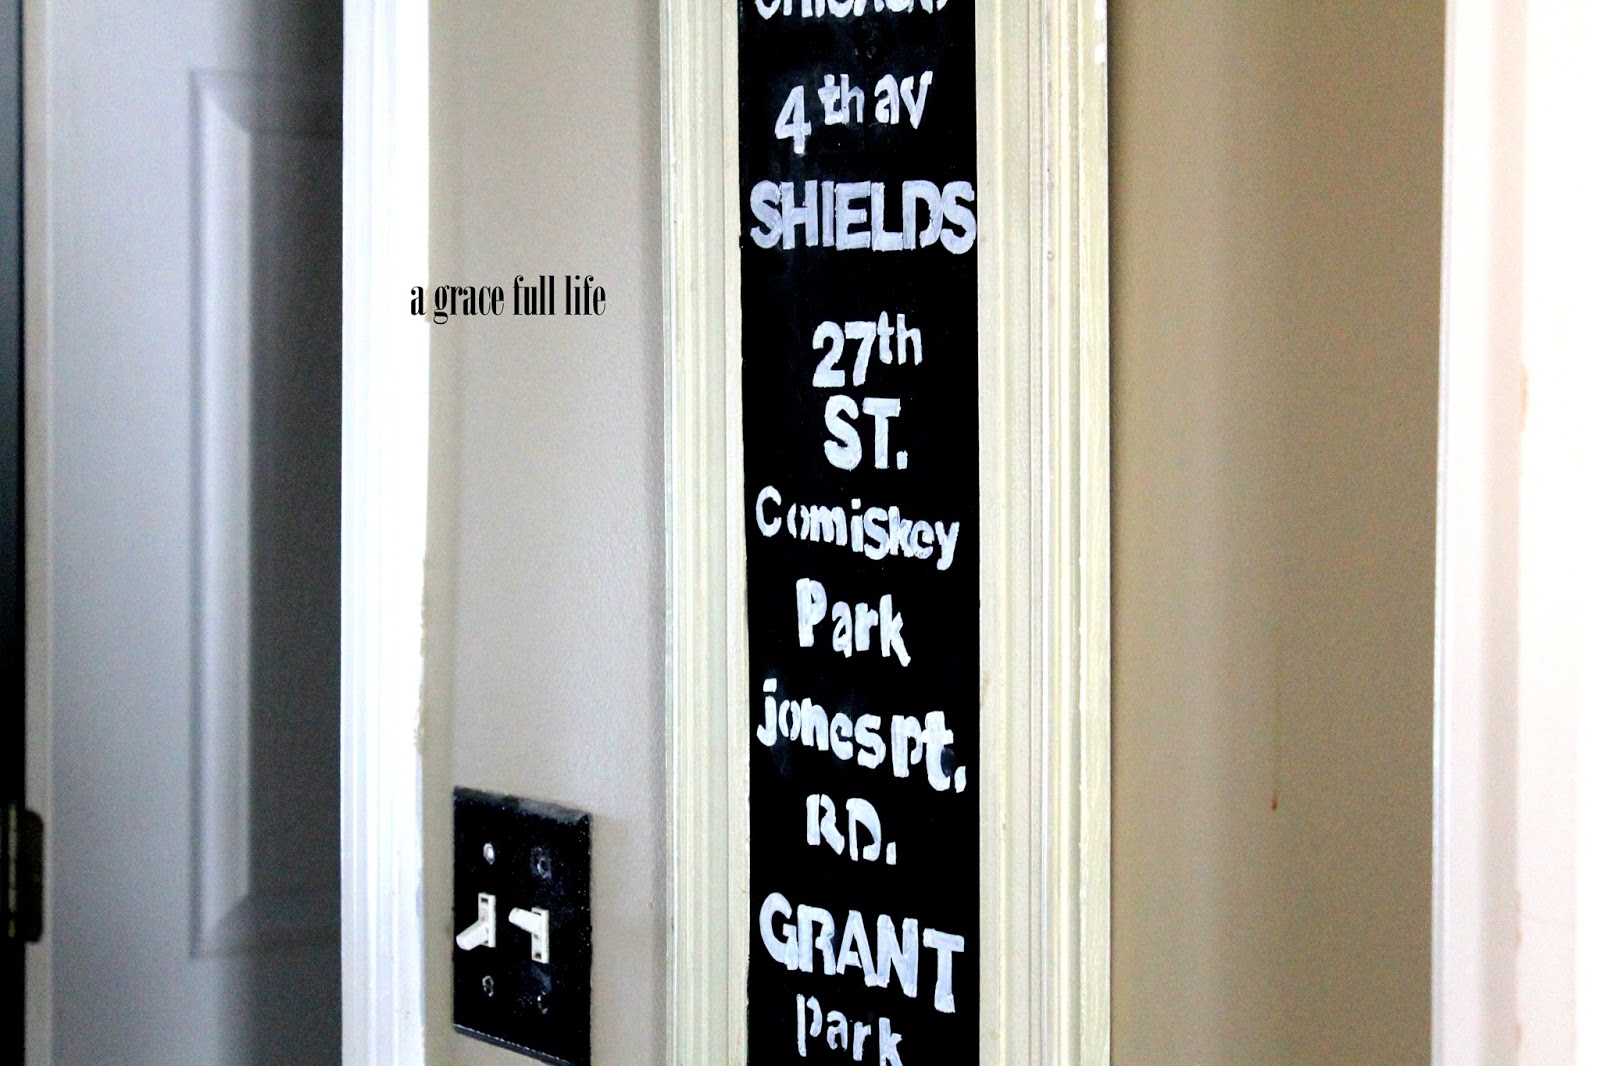
It’s now in our kitchen, and every time I look at it, I’m reminded that the smallest details often hold the biggest memories.
Discover more from A Grace Full Life
Subscribe to get the latest posts sent to your email.

Love your DIY project! I am a BIG fan of chalkboard paint and spray paint! Good job! :)
LikeLike
Thanks Suzanne! I just visited your blog today and became a follower- love your site!! Kari :)
LikeLike
This caught my eye b/c I am in Chicago as well…gotta love the 80s paintings…they're great real estate for upcycles.:)
LikeLike
Thanks Nicolette! And yes, what would we do without 80's artwork, or 70's for that matter. :) Thanks for stopping by!Kari
LikeLike
Very craftY. I have been seeing these all over and you did yours for a steal!! I saw Grant Park from a link party pic and knew you were from Chi-town. Me too! Born and raised!
LikeLike
Woo hoo…Chi Town in the house! I have lived here for over 20 years now and I love it here. My hubs was born and raised here. Thanks so much for stopping by! Kari
LikeLike
You are so dang cute! I love that you called it "Brady Bunch" art. Ha ha! Your project turned out fantastic . . . you are so creative to just look at something and see a vision of what you want! I am so impressed! Thank you so much for linking up to Strut Your Stuff Saturday- we would LOVE to have you come back tomorrow and link up more of your great posts!-The Six Sistershttp://sixsistersstuff.blogspot.com
LikeLike
Aww. thanks so much! I love me my six sisters! :) I will be back today to link up to your awesome party!!! :)
LikeLike
Thank you Kari, for your sweet comment on my blog & for linking up again. I love this project & I'm sure my readers did too.Warmly, Michelle
LikeLike
Thanks for stopping by Michelle! I love your blog so I am honored to share my ideas at your link parties. :)
LikeLike
Featuring YOU over on my blog today. Love this! :) Feel free to drop by & grab a button. :)Gingergingersnapcrafts.blogspot.comhttp://gingersnapcrafts.blogspot.com/2011/08/take-look-you-simple-messages.html
LikeLike
Yippeee!!! I love being featured! I am headin' over there right now! Thanks so much!!!
LikeLike
I love this and I would love to see you link it up to Upcycled Awesome (we are also doing stashbusting projects :)http://tinyurl.com/upcycled59
LikeLike
This is such a fun transformation! Great job! Thank you for sharing this at Show & Share! I really appreciate it!
LikeLike
Robin- thanks!Lindsay- I am glad to share it at your party! Thanks for having me. :)
LikeLike
Love it! Great job!I would love it if you would share this and/or any other projects you have been up to at Tuesday Talent Show at Chef In Training Tomorrow! Plus there is going to be a fun giveaway too! Thanks so much and I hope to see you there!-Nikkihttp://chef-n-training.blogspot.com/
LikeLike
This is a great idea to make it so meaningful the way you did with streets and dates that have significance to you.
LikeLike
Thank you!
We still have it in our room and I smile whenever I walk by it.
LikeLike
This is a great idea! I love that you personalized the street names, it makes it so much more special. And what an improvement from the original picture! Very creative!
LikeLike
Thank you! :)
LikeLike
Very creative use of your thrift find. I love that you used numbers that meant something to you for the addresses!
LikeLike
Thank you! I made this long ago and it still sits on the wall in our room. It’s a great reminder of where we came from. :)
LikeLike